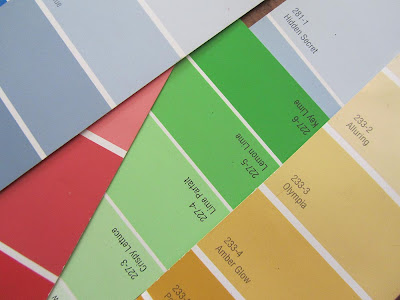
Paint Chip Valentine Tutorial

In honor of the upcoming day of love, I'm going to share with you a tutorial for some "Love the Earth Valentine's", made from recycled paint chips. We had a bunch left over from when we moved here and went on a painting spree. I squirreled them away when they'd served their purpose for future crafty purposes.
I came across them recently and decided they would be perfect for making Swedish hearts. These sweet woven hearts have been a favorite of mine since childhood. My mom used to make red and cream felt hearts for our Christmas tree, and I've loved them ever since. I've had fun as an adult exploring different materials to make them. Our Christmas tree has a whole set of ones made out of origami paper. My mom and I even made blue and pink felt ones for my baby shower.
So, without further babble, here's how to make them!

Step 1: Fold two paint chips in half. They can be of similar color palettes or complimentary.

Step 2: Now fold them inside out so you can make some markings. Measure one inch down from the open, unfolded side of each paint chip. Draw a line to mark where your rounded part of the heart will go, and where your cutting lines will stop. On the opposite folded side of each chip, draw two lines to create three equal sections that stop at the one inch marker. How far apart each line will be depends on the width of your paint chip, which can vary.

Step 3: Cut along the two perpendicular lines, making sure to stop at the 1" mark.

Step 4: Round the top corners of the open side of each paint chip while still folded. You can use the first paint chip as a template for the second so your rounding will be the same on both sides of the heart. Turn each paint chip right side out, still keeping them folded.

Step 5: Begin weaving your heart together. This part can be a little tricky because of the stiffness of the paint chip paper. If need be, practice on thinner paper first. Cross the paint chips as pictured above. Weave the top section of the right side through the middle of the top section of the right side, then the second section of the left side through the middle of the top section of the right side and finally, the top section of the right side through the last section of the left side.

It should look like the picture above.
 Step 6: Weave the middle section of the heart. Insert the top section of the left side through the second section of the right side. Then push the second section of the right side through the middle of the second section of the left side. Finally, weave the last section of the left side through the second section of the right side.
Step 7: For the last row of weaving, follow the same pattern as in step 5 for the first row of weaving. It's easier than it sounds, so look at the diagrams if it sounds confusing. The stiff paper can be a little difficult to weave so be patient and bend the paper lightly to get it in the right position. Your heart should open at the top like an envelope where you can place a little love note or treat if you so desire. Or you can find some fun ribbon and turn it into a garland or ornament.

I made a rainbow of hearts with my paint chips. Let me know if you try making these or if you have any difficulties. Happy hearts!


Comments