 |
| Beets harvested from the garden. |
 |
| They look like beautiful gemstones inside. |
 |
| After simmering the beets in water for a couple hours, I strained them out. |
 |
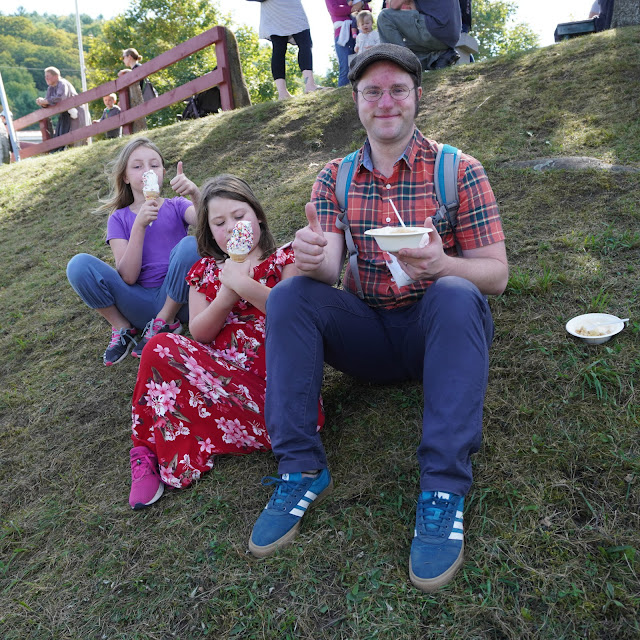
| Yarn simmering in alum mordant. Elsa promptly asked why I was making pasta. |
 |
| Beet brownies made from the left over beets. I also pickled some of the beets. |
 |
| Beet brownie being eaten without complaint or question... |
 |
| Preparing more yarn for dying. I made a loop around a book and then tied it to secure the yarn. |
 |
| Then I wound the yarn until it was wrapped around the book, tying a loop with the end of the yarn around the yarn with a knot. |
 |
| Before pulling my yarn off the book, I loosely secured it with three more rings of yarn to keep it from tangling in the water. |
 |
| It makes a wonderful yarn crown! And now it's ready for the dye bath. |
 |
| Fresh beet butterfly as a garnish for a "kid salad." (sneaky mom trick to get them to eat beets and salad) |
 |
| First yarn in the dye bath. |
 |
| Cold water bean dye (heating wrecks the color) and heated beet dye. |
 |
| Yarn drying |
 |
| Fall slippers for little feet, dye samples from solar experiment, and my inspiration for all this, "A Garden to Dye For" by Chris McLaughlin. |
So, as promised, I'm finally sharing my first attempt at dyeing with natural materials. I did two experiments within a couple days time with beet and black bean dyes. I chose to grow beets purely for dyeing because of their gorgeous color. Truth be told, when I planted the seeds, I was not that big a fan of beets as an edible. In fact, when I planted them, I was pretty sure I couldn't stand beets. However, after my one row of planting turned out to be much more than needed for my little experiment, I decided to give them a second try. I found that I could tolerate them shredded and mixed onto my daily lunch time veggie wrap, and after a month of eating them, I might even go so far as to say that I like them!
Dyeing with beets, on the other hand, was easy to love! Each step offers a small thrill, from harvesting these large round roots from the garden to the moment you cut into them and you see their beautiful geode-like interior, to creating the dye and finally seeing the beautiful new color created through the dyeing process. They have a deep and almost shocking fuschia color when you slice into them that miraculously came out a soft peachy salmon through natural dyeing . The dyeing process ended up taking about four days (aside from planting and growing time!)... pre-soaking the material and then heating and soaking it in alum mordant over night and then heating it in the dye bath after letting the dye bath simmer with the beets for a couple hours, letting the material soak up the dye for two days, and finally, washing it out and hanging it to dry. My dye bath must have been a little too hot when I placed the wool in it because it did felt together a little, but not so much that it was unusable. So, note to self: make sure dye is perfectly cool before adding the yarn. The bonus of growing beets for dyeing is that the beets were still usable after creating the dye. I made a jar of refrigerator pickled beets and made some beet brownies (which tasted a bit more like chocolate cake, then brownies, but still good). Oh, the kids gobbled it down, never once suspecting that I put a root vegetable in their treat.
Food was also the benefit of using black beans to dye. In order to make black beans from scratch, you usually soak them in water overnight and then rinse them and cook them in a new pot of water. So, instead of throwing the old water down the drain, you can use it as a cold water dye bath. This means you never heat the dye up to extract color. I added the yarn the next morning. I reused the alum to pre-soak the yarn while the beans were soaking. I think you can get away with reusing the alum once before you need a new batch. In order to get the almost denim blue color that you see in the pictures, I had to add a bit of baking soda to the dye bath. I just added it until it seemed an appealing color. Black beans are considered a fugitive dye... which means they fade over time and don't stand up well to repeated washing and sunlight. My original plan for the bean dye was to use it for some small baskets.... something that would stay inside, needed minimal washing, and could be placed out of the sunlight. However, when I saw the beet yarn and bean yarn side by side, I knew that I need to combine the two somehow.
We've had some crisp mornings whispering of Fall, so I knew warm woolly slippers for little feet might be just the thing. I am currently working on a pair for Oona. I thought Elsa would like matching ones, but she has requested purple ones, and wants me to make some purple dye next. Hmm... I'll have to think about that one. The thing with dyeing is that the results are not always what you expect, especially for an amateur. For the beets, I thought for sure they would come out a soft ballerina pink from pictures I had seen, but no, the color is more like a cantaloupe melon. I think my next dye experiment will be with amaranth, as it's in abundance in the garden, and I'm hopeful for a beautiful color, though I haven't found many examples. Anyone else have any fun experiments going on? Dyeing is definitely addicting. You start to see new potential in every plant. But I'll have to put that on hold to get some new fox dresses ready for back to school. I can't believe summer vacation is coming to an end! Ah! Why does life go so fast?!


Comments
I love beets, I could eat them all day, especially pickled.
x